
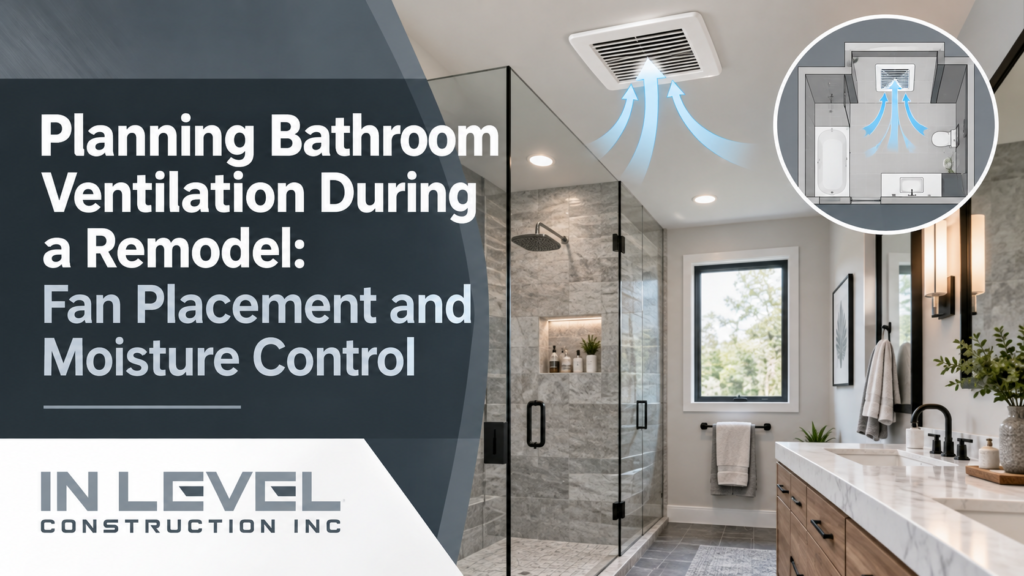
Plan bathroom ventilation before the remodel’s ceiling and walls are closed. The fan needs a suitable location, enough delivered airflow, and a duct that carries humid air outdoors. Choosing an attractive grille or replacing a noisy fan without reviewing the full exhaust path can leave the original moisture problem unresolved.
A remodel creates an opportunity to coordinate the fan with the shower, framing, electrical work, and exterior termination. It also lets you choose controls that support regular use. This guide explains how those decisions fit together and what to check before treating the ventilation work as complete.
Identify the Moisture Problem Before Selecting a Fan
Look for where condensation appears and how long surfaces stay wet after bathing. Note peeling finishes, damp corners, or a fan that seems to move little air.
These observations help identify questions, but they do not establish the cause. Plumbing leaks, roof leaks, or water entering through the shower assembly need their own investigation.
Ask the remodeler to trace the existing duct. An audible motor does not confirm that moisture is reaching outdoors, and an exterior cap does not prove the duct is connected correctly.
In Level Construction Inc.’s bathroom remodeling services include electrical, plumbing, and layout-related work. Bring ventilation concerns into the scope before those decisions are finalized.
Place the Exhaust Pickup Near the Moisture Source
The fan location should help collect humid air from the bathing area while allowing a practical duct route. Framing and other services can limit where the housing fits.
Panasonic’s bathroom exhaust planning guidance recommends locating the pickup near the shower and reviewing suitability when installing above bathing areas.
A fan installed over a shower or tub must be approved for that location. Have the electrician confirm the manufacturer’s instructions and the required electrical protection.
Do not select a location solely because the existing ceiling opening is convenient. It may be worth changing the opening when the old position compromises the new layout.
Consider Enclosed Toilet and Shower Areas
A separate compartment can restrict air movement. Discuss whether the design needs another pickup or fan rather than assuming one centrally located grille will serve every enclosed space.
Size Bathroom Ventilation for the Actual Space
Fan airflow is described in cubic feet per minute, or CFM. The required selection depends on the bathroom, its fixtures, the operating strategy, and applicable requirements.
For intermittent ventilation in bathrooms under 100 square feet, the Home Ventilating Institute recommends about 1 CFM per square foot, with a minimum of 50 CFM. It uses fixture-based guidance for larger bathrooms.
Treat that as selection guidance, not a substitute for confirming the requirements governing your remodel. The designer should determine the needed performance for the actual arrangement.
Rated airflow and delivered airflow can differ. Duct resistance and the exterior termination affect how the installed system performs, so purchasing a higher rating alone is not a complete solution.
Compare Sound Alongside Airflow
Fan sound ratings are commonly expressed in sones. Compare published ratings at the operating setting you expect to use.
ENERGY STAR evaluates fan performance and sound criteria, providing useful information when comparing certified models.
Design the Duct Route to Reach Outdoors
The exhaust must terminate outdoors, not discharge into the attic, a crawlspace, or a concealed space between floors. Review the route while the relevant construction areas are accessible.
Use the duct size specified for the fan and plan a direct route with limited bends. Narrow, crushed, or poorly arranged ductwork can restrict airflow.
The Department of Energy’s bathroom exhaust guidance addresses duct sizing, outdoor discharge, and routing. Ask the installer to show how the proposed run follows the equipment instructions and applicable requirements.
The exterior termination also needs suitable placement and weather protection. Coordinate wall or roof work so the opening does not create a new water-entry problem.
Confirm treatment of joints, penetrations, and duct sections passing through unconditioned areas. Insulation and air sealing should be part of the installation review where required.
Provide a Path for Replacement Air
Exhausted air needs replacement air. If the bathroom is tightly closed off, the fan may struggle to move the intended amount.
Have the designer review the transfer-air path with the door closed. A door undercut or another approved arrangement may be appropriate, depending on the design.
Do not alter doors or rated assemblies without checking their requirements. The air path must fit the building’s overall ventilation strategy.
This matters when new flooring or a replacement door changes the gap beneath the door. Include the finished dimensions in the review rather than relying on the pre-remodel condition.
Choose Controls That Support Regular Use
A timer can keep the fan operating after a shower without requiring someone to return and switch it off. HVI recommends continued ventilation for at least 20 minutes after bathroom use.
Humidity-sensing controls offer another option, depending on the selected equipment. Their settings and operation still need explanation at handover.
Discuss how automatic operation and manual control interact. A household should know how to start the fan, extend its run time, and recognize normal sensor behavior.
Avoid making the fan’s only useful operating period depend on leaving a bright light on. Review the control arrangement with the electrician and the applicable energy requirements.
Check the Finished System and Plan Maintenance
Before completion, ask for confirmation that the duct is connected, the outdoor outlet works, and the specified airflow is achieved. Hearing the motor or seeing a tissue move does not measure delivered CFM.
Test the controls and ask how to clean the grille and accessible components. Follow the manufacturer’s instructions, including electrical precautions.
Use an initial bathroom remodeling consultation to define these completion checks as part of the scope. That gives ventilation a clear place alongside the visible finish work.
Conclusion
Effective bathroom ventilation combines sensible pickup placement, suitable delivered airflow, and a complete outdoor exhaust route. Coordinate those decisions before the remodel closes the ceiling, then review replacement air, sound, controls, and access for maintenance. Confirm operation and performance during the final checks. In Level Construction Inc. can discuss ventilation within the broader bathroom remodeling scope so it receives attention alongside plumbing, lighting, and tile. That planning supports moisture control through the entire installation, rather than leaving it to the fan selection alone.
FAQ's
Do not assume so. Required mechanical ventilation depends on the applicable rules, and an open window provides variable airflow.
No. The suitable location depends on the layout, duct route, and product approval for the proposed position.
No. It manages humid air. Plumbing leaks, water-entry problems, and failed shower waterproofing require separate repairs.

 ICONIER Digital Agency