
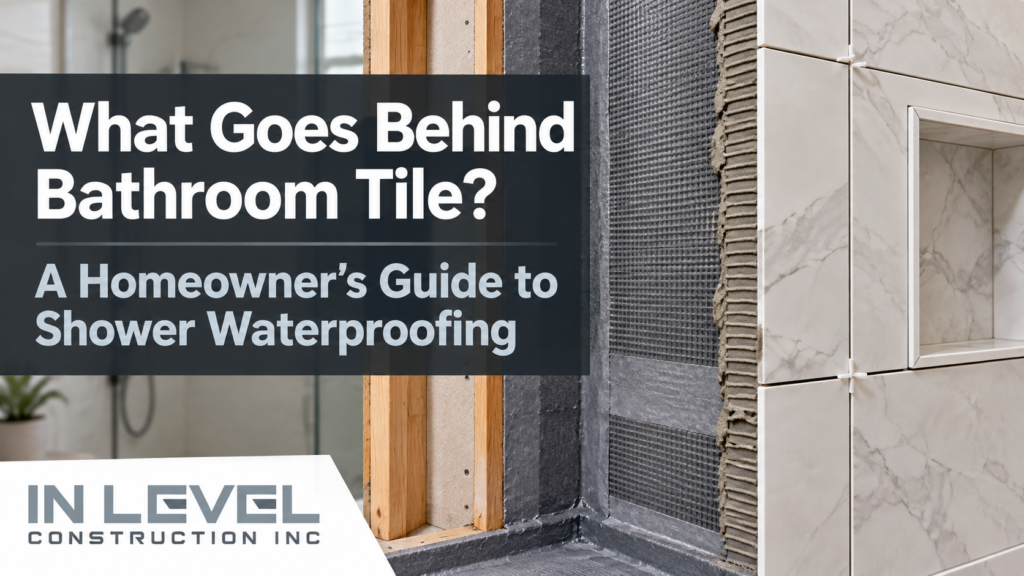
Shower waterproofing depends on a properly designed assembly beneath and behind the tile. Tile, grout, and surface sealers should not be treated as the shower’s waterproof barrier. The concealed system must manage water at the walls, floor, drain, corners, and openings before the decorative finish is installed.
For a homeowner, the useful question is not simply which board goes behind the tile. Ask how all the layers work together and how the installation will be checked before it is covered. Understanding those components helps you review a bathroom remodeling proposal and recognize details that deserve a clear explanation.
Separate the Tile Finish From Water Protection
Tile is the exposed wear surface. Setting material bonds it to the prepared substrate, and grout fills the joints. Those layers serve important purposes, but they do not by themselves establish a waterproof shower.
Water can reach the layers beneath the finish. The waterproofing assembly must therefore protect moisture-sensitive parts of the building and provide a suitable relationship with the drain.
Schluter’s shower system guidance explains why waterproofing is needed alongside tile and grout. The principle applies to reviewing an assembly, without requiring you to choose that manufacturer’s products.
A grout sealer is not a substitute for missing waterproofing. If the concealed system is incomplete, applying more sealer to the finished surface does not resolve the underlying construction detail.
What Does Shower Backer Board Do?
Backer board provides a suitable base for the tile assembly. Its ability to tolerate water and its ability to block water are separate properties.
Some cement boards are water durable without being waterproof. USG makes that distinction in its cement board guidance. Protecting the board itself is different from protecting the framing behind it.
Other approved systems use boards with waterproof characteristics, but their joints, fasteners, and transitions still need the specified treatment. A waterproof panel does not make an unsealed assembly waterproof.
Ask which substrate is proposed and how its installation relates to the selected waterproofing method. The answer should include support, joints, and the system’s approved use in the shower.
Compare Waterproofing Methods as Complete Systems
Different shower assemblies place water protection in different locations. The method must be selected and detailed as a whole rather than assembled from unrelated products.
Sheet Membranes
Sheet-applied systems use a waterproof membrane with specified seam and connection details. Corners, pipe openings, and drain connections need treatment consistent with that system.
The membrane’s presence is only part of the review. Ask how adjoining pieces and transitions will create continuous protection.
Liquid-Applied Membranes
Liquid membranes form their protective layer after application and curing. Coverage, film thickness, substrate preparation, and reinforcement requirements are product-specific.
LATICRETE’s waterproofing membrane information illustrates that a liquid system has defined installation and curing requirements. A coating that looks complete is not proof that the required thickness has been achieved.
Other Approved Assemblies
Traditional shower assemblies may use a pan liner and a wall moisture-management detail appropriate to that method. Proprietary board systems provide another approach.
Ask the contractor to identify the intended assembly and its instructions. Extra layers are not automatically an improvement if their compatibility and moisture behavior have not been addressed.
The Shower Floor and Drain Must Work Together
The floor needs a planned slope and a drain connection compatible with the waterproofing method. Waterproofing alone cannot make a poorly draining floor function well.
The concealed drainage plane matters alongside the finished tile surface. In assemblies with a liner beneath a mortar bed, the relevant liner and drain details must manage water reaching that layer.
In a bonded membrane assembly, the membrane connects to the compatible drain using the specified detail. Different drain types should not be treated as interchangeable.
Choose the drain and floor assembly before tile installation begins. Moving a drain or changing its type late can affect the surrounding structure, slope, and waterproof connection.
Pay Attention to Niches, Benches, and Penetrations
A niche introduces corners and a horizontal ledge. A bench and curb create additional transitions. These features require planned waterproofing details, not just a neatly tiled surface.
Surfaces expected to shed water need an appropriate slope toward the shower. Waterproofing should follow the selected assembly’s requirements at those locations.
Pipe and valve openings also interrupt the waterproof layer. Ask how the system treats them and what happens when shower doors or accessories are attached.
Plan support for grab bars and other mounted items before closing the walls. Coordinate their fastening with the waterproofing detail rather than relying on an improvised hole through the finished assembly.
In Level Construction Inc.’s bathroom remodeling services include tile, plumbing, and shower-related work. Discuss these concealed details alongside the visible fixtures when defining the scope.
Check the Assembly Before Tile Hides It
Ask what inspections and quality checks will occur before the waterproofing is covered. Confirm the sequence with both the contractor and the applicable inspection requirements.
A shower-base flood test checks the assembly for leakage under the specified test conditions. Cure time and the test procedure depend on the chosen system.
Schluter’s water-test explanation describes testing before setting tile and allowing the membrane assembly to cure first. Other products may specify different timing.
Use an initial bathroom project consultation to discuss those questions alongside your layout and finish choices.
Request photographs of the completed waterproofing, including corners and the drain connection. Keep the product names and relevant installation information with the project records.
For a curbless shower, review how the waterproofing extends through the entrance and other areas exposed to water. Removing the curb changes water containment and requires a coordinated floor design.
Conclusion
Shower waterproofing succeeds through coordinated concealed details, not the appearance of the finished tile. Review the substrate, protective layer, floor slope, drain connection, and treatment of corners and openings before work is covered. Confirm the required checks and retain installation records. Discuss those questions alongside your layout and finish choices. In Level Construction Inc. can help define the bathroom remodeling scope so water protection receives attention at the planning stage, when the details are still accessible.
FAQ's
Not by itself for every assembly. Some cement boards tolerate water without blocking it. The complete system needs an appropriate moisture-protection method and sealed details.
Regrouting addresses the surface joints. It does not establish a missing concealed membrane or repair every drain and wall connection.
Requirements depend on exposure and the selected assembly. A wall inside the shower needs a different review from a wall outside the splash area.

 ICONIER Digital Agency